
Sure, you can handle it. But should you?
Let our experts manage the tech maintenance while you focus on your business.
Let our experts manage the tech maintenance while you focus on your business.
Installation und Configuration
SCIM Principal Resolution Service
Introduction
The SCIM Principal Resolution Service can be used to resolve groups from identity providers that support SCIM, e.g. Microsoft Azure. These groups can be sent from the identity provider to the Mindbreeze SCIM Service. The SCIM Principal Resolution Service can then resolve groups and users with the help of the SCIM Service.
Configuration of the SCIM Services
Configuration in Mindbreeze
Add a new service in the “Indices” tab with “+Add Service”. Then select “SCIM Service” for the “Service” setting in the new service.
Now configure the SCIM service with the settings in the “Connection Settings” section.
Connection Settings

Setting | Description | Example/Default Setting |
Bind Port* | The port on which the SCIM service is started and can be reached. Port 18080 has been opened for this purpose. | Default Setting: 18080 |
Authorization Token* | A credential of type Password created in the Network tab, which contains the password for SCIM authorization. This password must be used by the identity provider to authenticate to the SCIM service. | Example: SCIM Secret |
Server Certificate Credential | The credential of type Client Certificate created in the Network tab, which contains an SSL certificate. If this is configured, the SCIM service uses https. | Example: SSL Certificate |
Supported TLS Protocols | Comma separated list of TLS protocol names. The accepted values for protocol names are JSSE Standard Names. By default ‘TLSv1,TLSv1.1,TLSv1.2’ is used. | Example: TLSv1,TLSv1.1,TLSv1.2 |
SCIM Service Thread Count | Defines the number of threads with which the SCIM server is started to process several requests simultaneously. | Default Setting: 100 |
Log All Requests | If this option is activated, all requests sent to the SCIM service are logged in an api-request-log.csv file. Only activate this option to analyze problems. | Default Setting: Disabled |
* = These settings must be configured so that the Sitemap Generator works and is built. All other settings must be configured according to the use case. | ||
Settings marked with „(Advanced Settings)“ require the activation of „Advanced Settings“ in the configuration. These settings are only necessary in special cases. | ||
Configuration of Provisioning in Microsoft Azure
To connect Microsoft Azure to the SCIM service, create an enterprise application in Microsoft Azure under “Enterprise Applications” and then “New Application”. Then select “Create your own application”, enter the name of your application (e.g. Mindbreeze SCIM App), select “Integrate any other application you don't find in the gallery (Non-gallery) and click on “Create”.
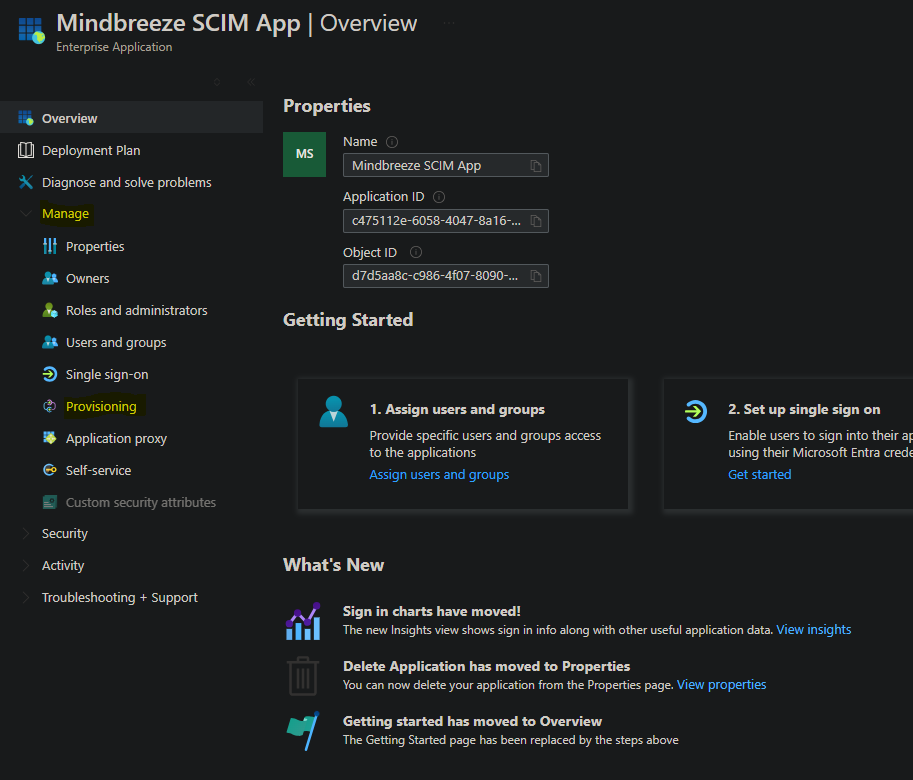
In the overview of your Enterprise Application, in “Manage” go to “Provisioning”:
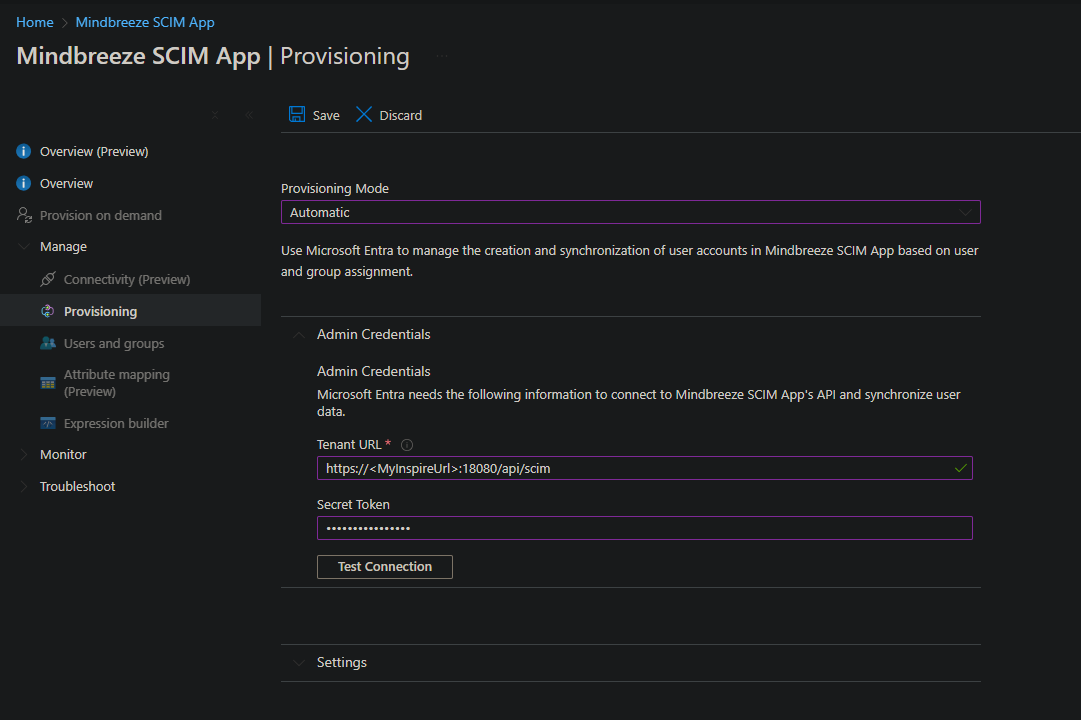
Then navigate again to “Manage” and then to “Provisioning” and change the Provisioning Mode to Automatic. In the Secret Token field, enter the password of the credential that you have configured as the Authorization Token for the SCIM service in Mindbreeze InSpire. You can then test the connection with “Test Connection”. If the test is successful, save your settings with “Save”.
Then reload the page. In the Mappings area, click on Provision Microsoft Entra ID Users. Here you can customize the attribute mappings. Please note that the default attribute manager is not supported. Remove this attribute with Delete and save your changes with Save.
Note: Not removing the manager, will lead to unnecessary PATCH requests on every provisioning.
Now navigate back to the Provisioning page. There you can change the Scope of the provisioning in the Settings area. If you want to provision all groups and users to Mindbreeze, set Scope to Sync all users and groups.
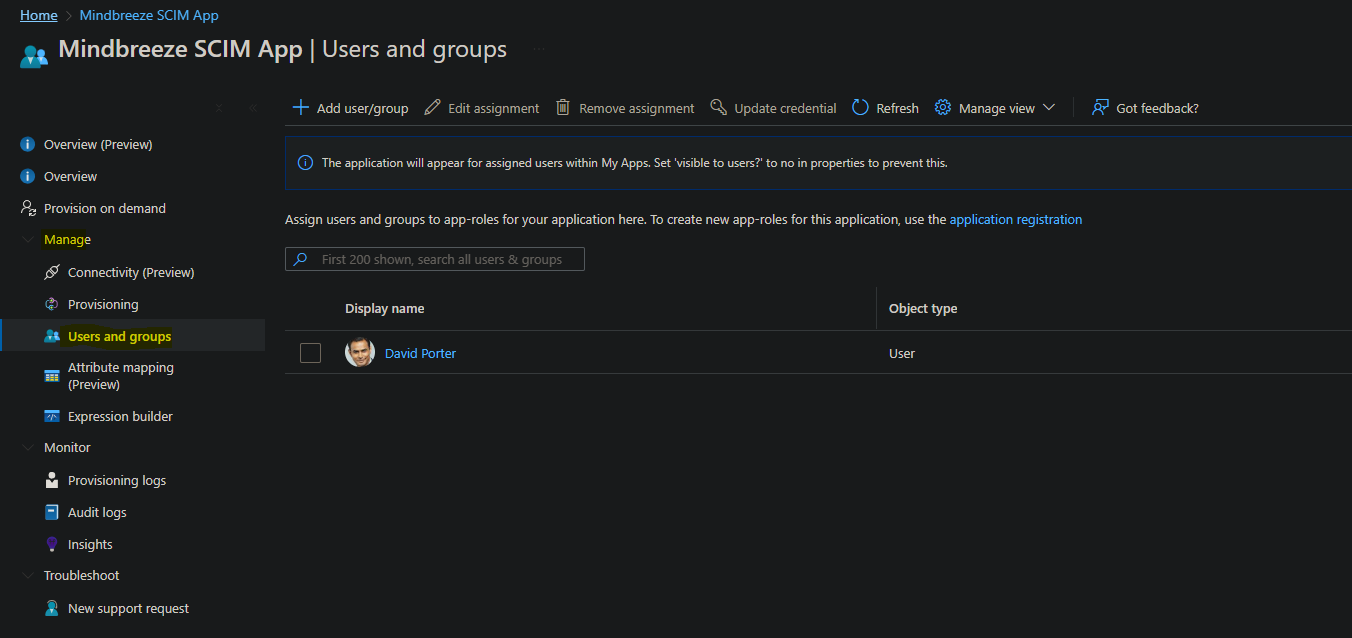
If you only want to provision certain users and groups, these must be assigned to the app. This can be done under Manage and then Users and groups.

Once you have made the desired configurations, you can start provisioning on the Overview page with Start provisioning.
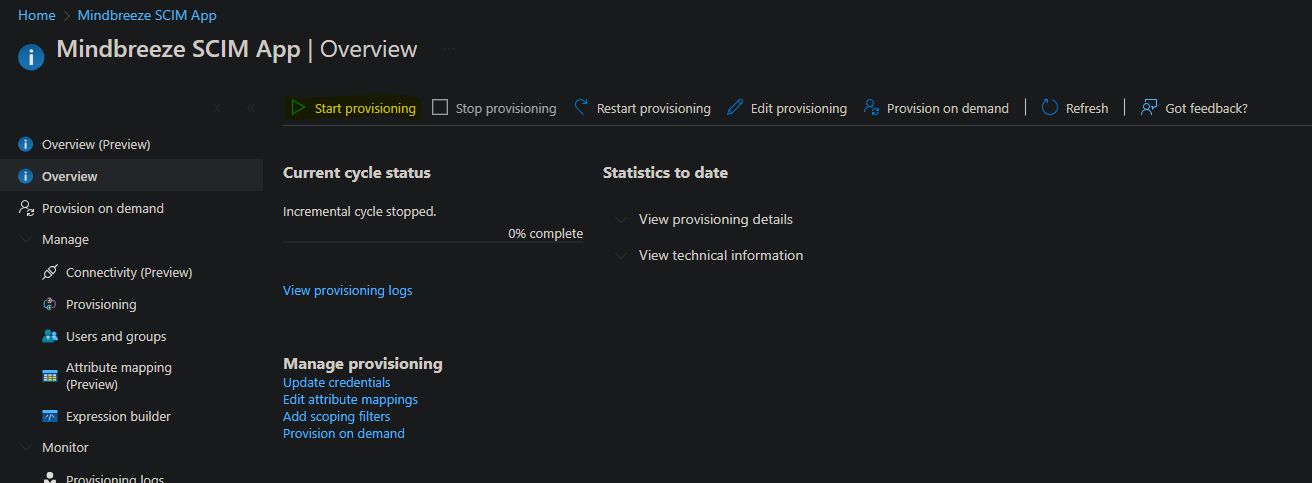
Provisioning is then started within the next 40 minutes.
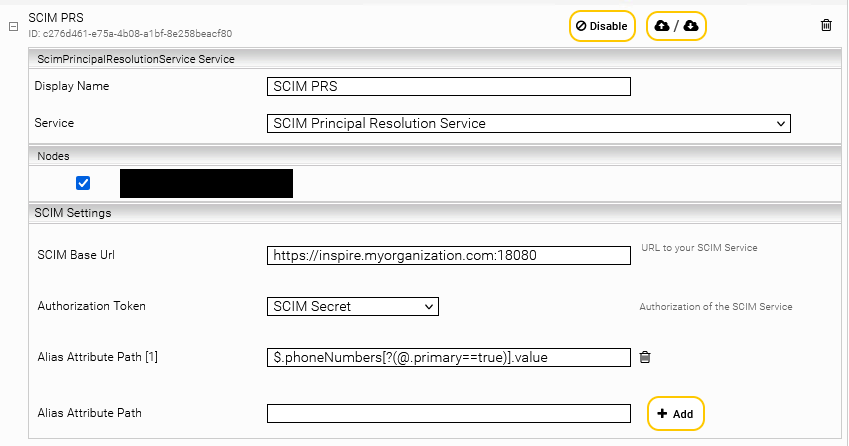
Configuration of SCIM Principal Resolution Service
Add a new service in the tab “Indices” with “+Add Service”. Then select “SCIM Principal Resolution Service” for the setting “Service” in the new service.
Now configure the SCIM Principal Resolution Service with the settings in the section “SCIM Settings”.
Hint: For more information about the creation, basic configuration of a cache for a Principal Resolution Service and other configuration options, see Installation & Configuration - Caching Principal Resolution Service.
SCIM Settings
Description | Example/Default Setting | |
SCIM Base Url* | The base url of the previously configured SCIM service. Make sure that the port matches your Service and that you use “https” if the setting “Server Certificate Credential” is set in the SCIM Service. If you use “https”, you must use the Fully Qualified Domain Name of your InSpire instead of “localhost”. | Default setting: http://localhost:18080 Example: https://inspire.myorganization.com:18080 |
Authorization Token* | A credential of the type Password created in the Network tab, which contains the password for SCIM authorization. This must be the same credential that was used in the SCIM service. | Example: SCIM Secret |
Alias Attribute Path | This setting allows you to use a JsonPath expression to select attributes of groups or users whose value is to be used as an alias. | Examples: The displayName of the user: All emails of the user for which the primary attribute is set to true: |
* = These settings must be configured so that the Sitemap Generator works and is built. All other settings must be configured according to the use case. | ||
Settings marked with „(Advanced Settings)“ require the activation of „Advanced Settings“ in the configuration. These settings are only necessary in special cases. | ||
Appendix
Known Issues with Microsoft Azure Provisioning
Microsoft Azure has a list of known issues. Some of these issues affect the provisioning to the Mindbreeze SCIM Service:
Null attributes cannot be provisioned. This is most relevant, when the value of a metadata is removed entirely. Since null attributes cannot be provisioned, Microsoft Azure will not send the information, that the value of the metadata has been removed.
Switching from Sync All to Sync Assigned not working. If you change the Scope of your provisioning, make sure you restart the provisioning. You can perform the restart via the user interface in Microsoft Azure.
When a group is in scope and a member is out of scope, the group will be provisioned. The out-of-scope user won't be provisioned. If the member comes back into scope, the service won't detect the change. Restarting provisioning addresses this issue. Periodically restart the service to ensure that all users are properly provisioned.
Operating SCIM Service behind a Reverse Proxy
Required HTTP Methods
When operating the SCIM Service behind a Reverse Proxy, note that SCIM requires the following HTTP methods:
- DELETE
- GET
- PATCH
- POST
- PUT
Modern servers usually block DELETE, PATCH, and PUT methods by default. Ensure that all required HTTP methods are enabled.
Required Headers
Ensure that the Reverse Proxy correctly sets the HTTP header X-Forwarded-For. You can verify this by checking the log files when "Log All Requests" is enabled.