Deletion of Hard Disks
Quick Start Guide
Introduction
This brief guide deals with the permanent removal of data on a Mindbreeze InSpire appliance. After carrying out these instructions, none of the data can be recovered. In these instructions, the data is deleted using the method recommended by Mindbreeze, which uses the AlmaLinux Live CD (AlmaLinux LiveMedia).
There are various options to choose from. Any x86_64 is fine but this documentation will only show instructions for “Gnome Mini”.
Preparation
Network
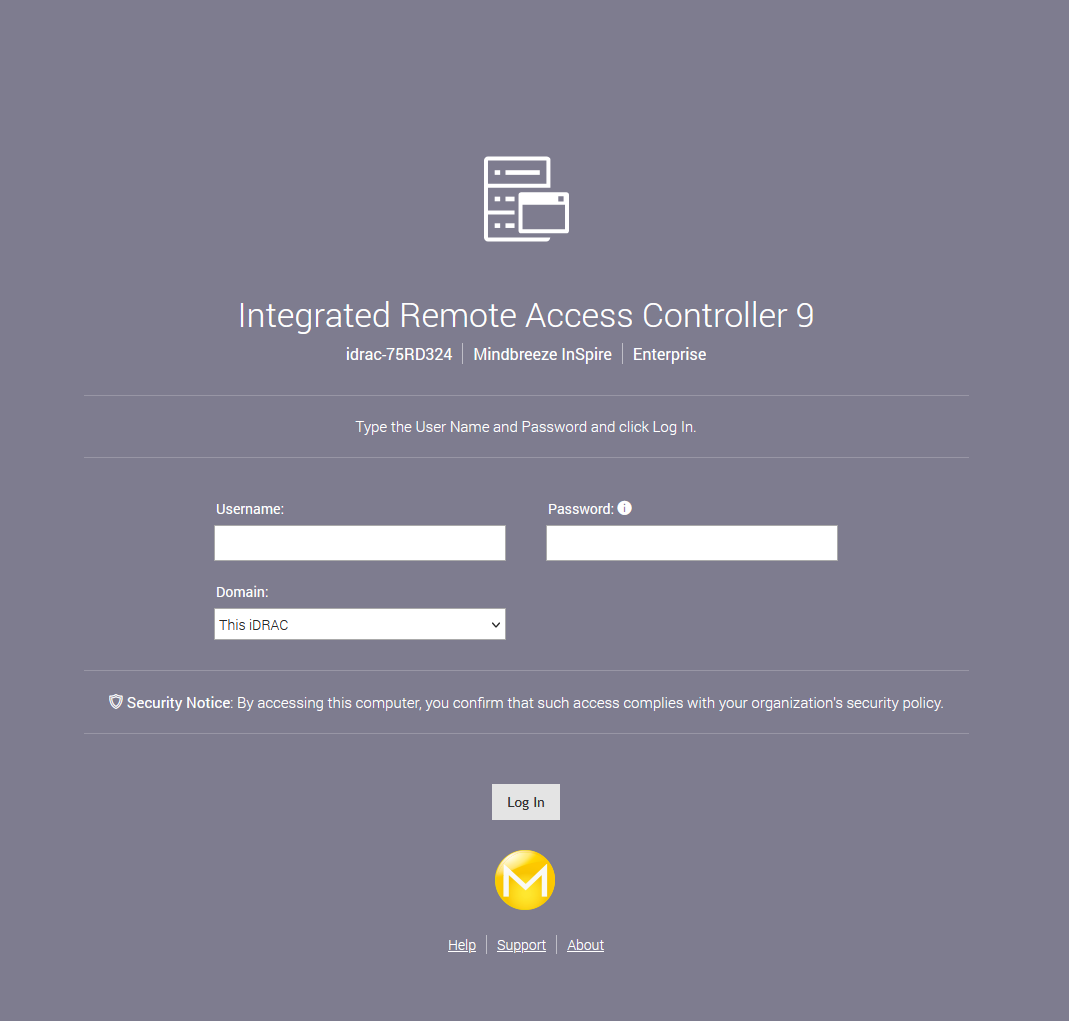
To perform the deletion, ensure that your Mindbreeze InSpire appliance is accessible via iDRAC. You can normally access this at “https://IDracIP_OR_DNS”.
For more information on the iDRAC setup, please refer to the Initial Startup – Mindbreeze Management Center.
Medium
Now download AlmaLinux as a bootable live image .iso file (e.g Gnome-Mini x86_64) from https://repo.almalinux.org/almalinux/9/live/x86_64/.
For example:
https://repo.almalinux.org/almalinux/9/live/x86_64/AlmaLinux-9-latest-x86_64-Live-GNOME-Mini.iso
Performing the deletion
This chapter provides a step-by-step description of the automatic and irrevocable deletion of your Mindbreeze InSpire appliance data along with an example.
iDRAC
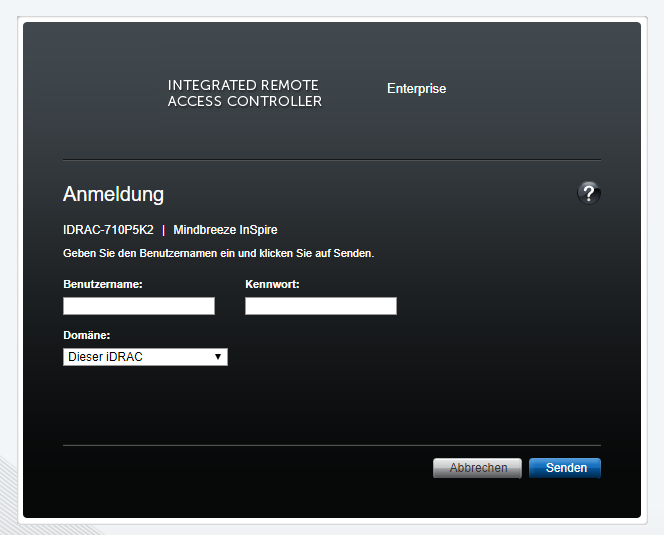
- In order to complete the deletion, please log on to the appliance via your iDRAC
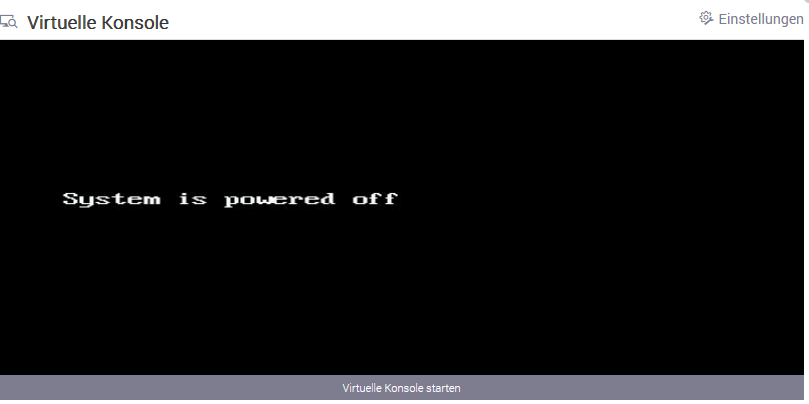
- Start the console
- Mount the downloaded Live CD (.iso file) via the console and connect the virtual Drive:
- Assign CD/DVD Image:
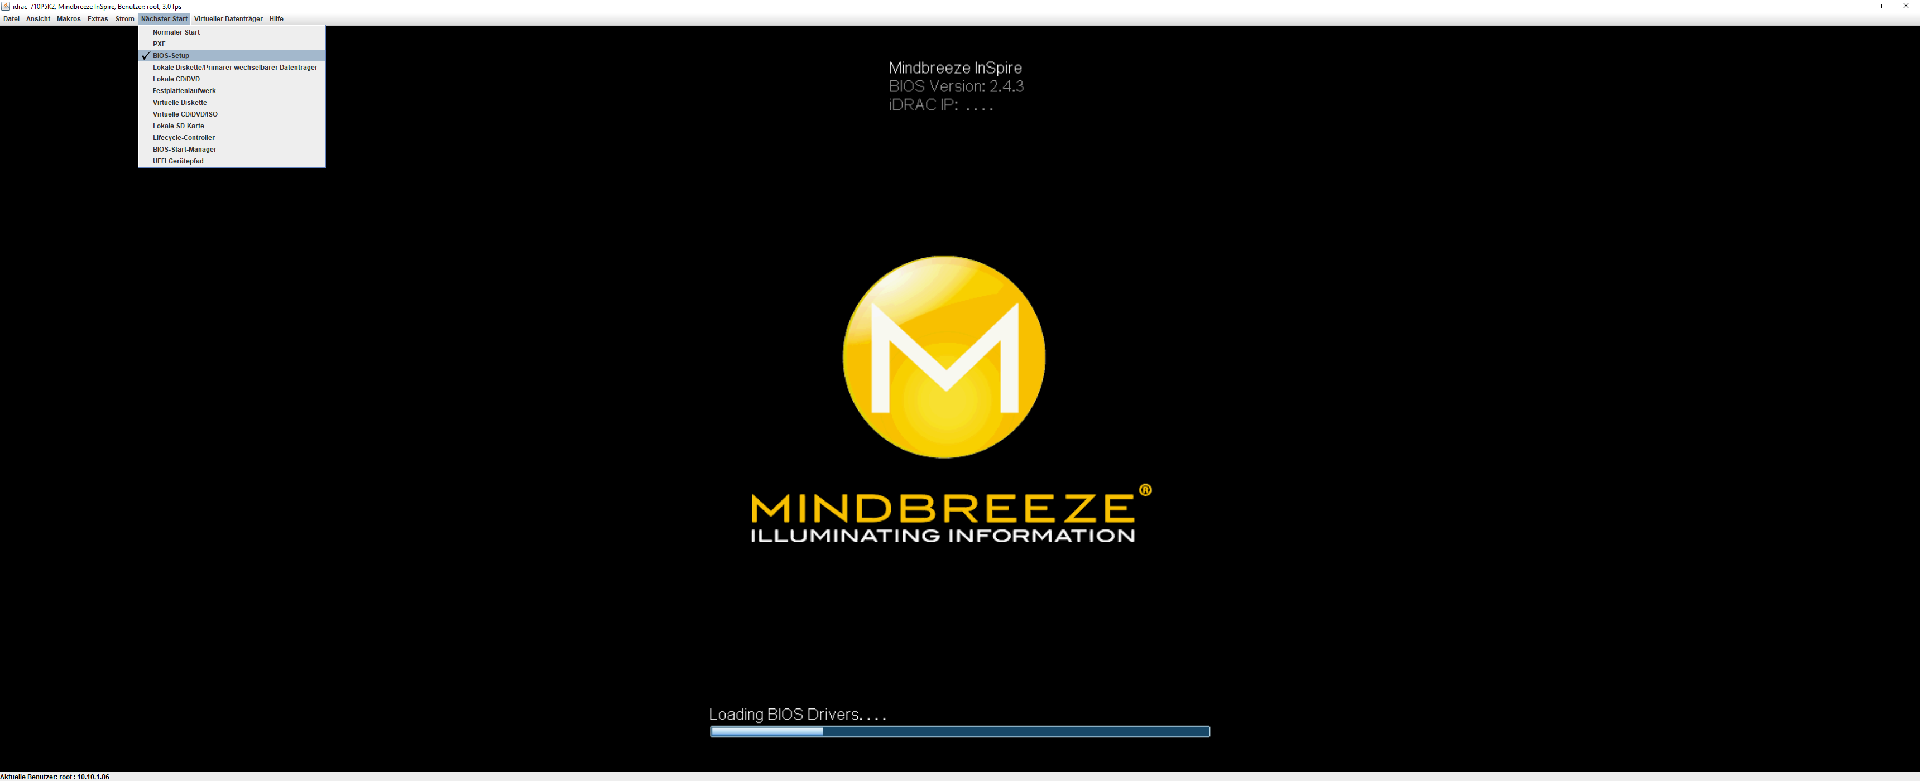
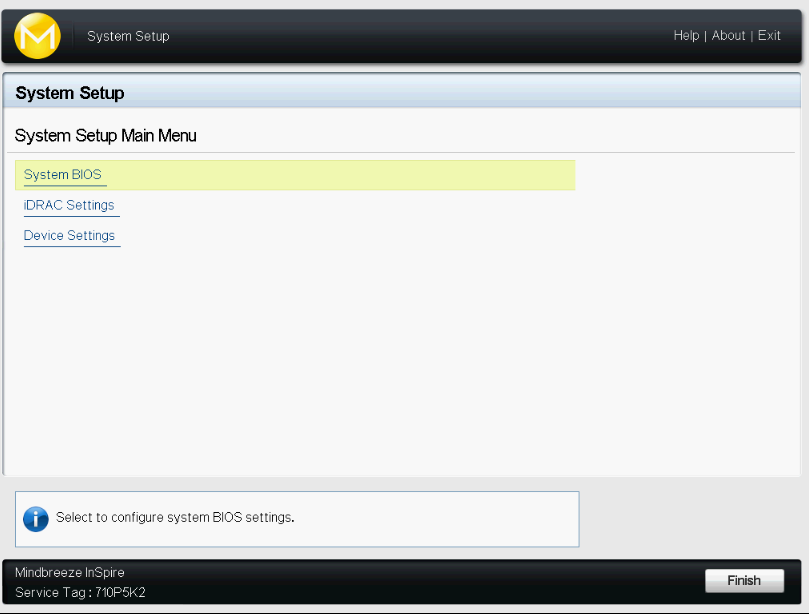
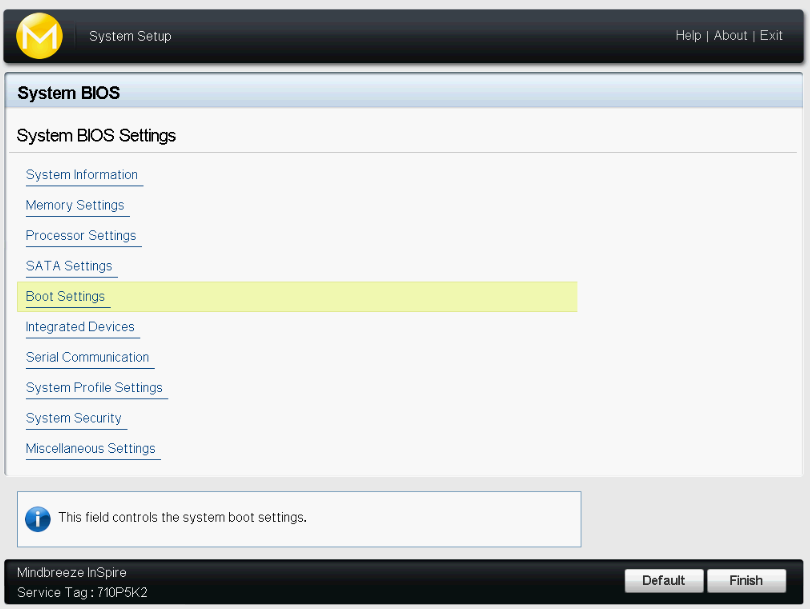
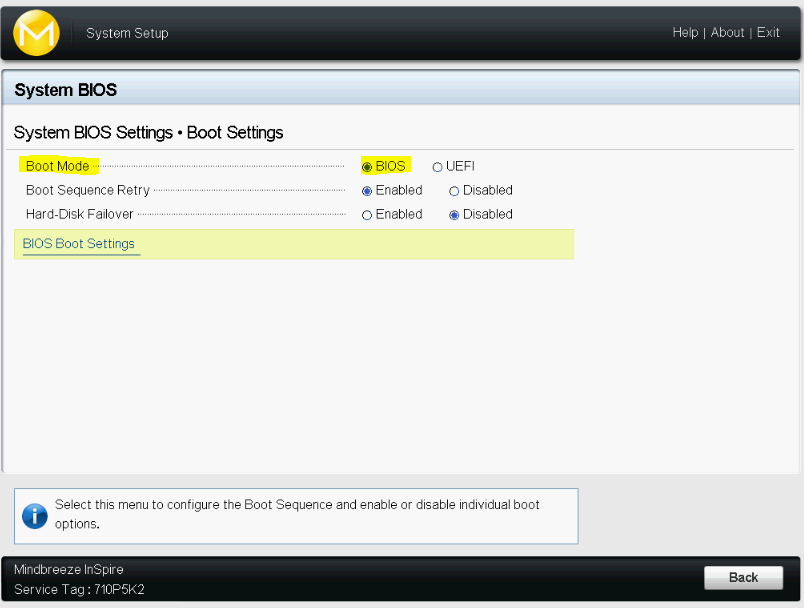
- Change the temporary boot order to the mounted media
- Start/Restart the appliance
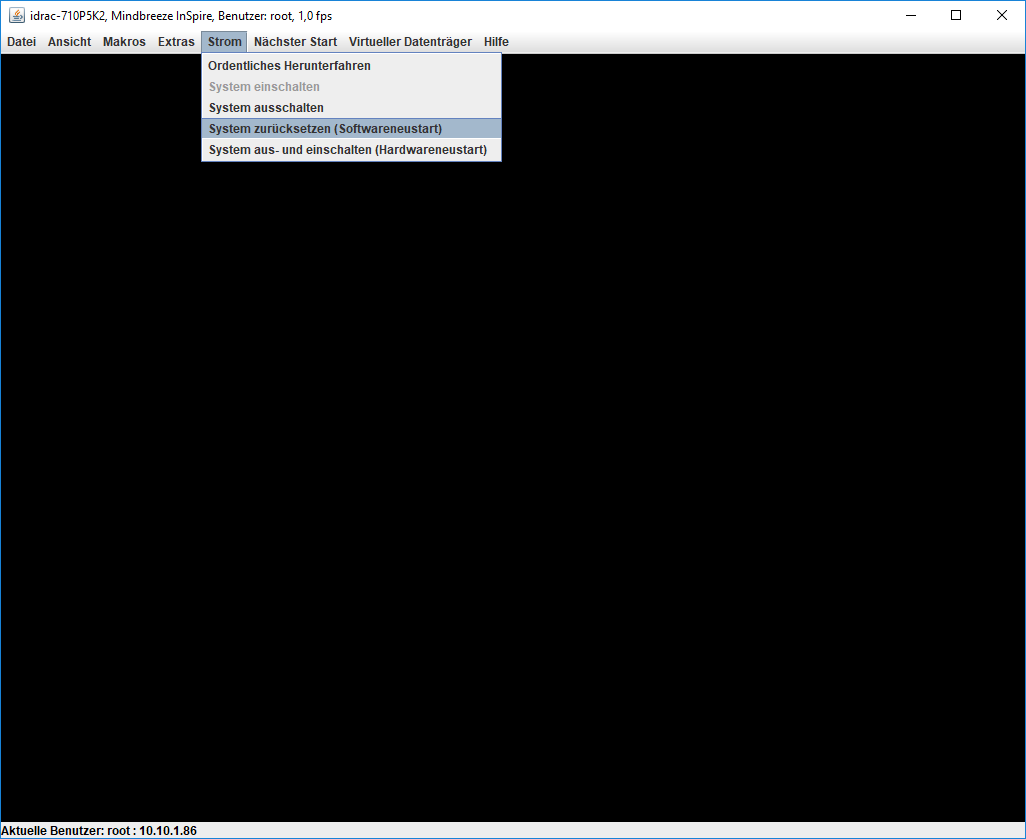
- Wait until the tool has started
Deleting using AlmaLinux Live
- Wait until AlmaLinux has been fully started. Depending on the network connection of your server, this can take several minutes.
- Select “Activities”
- Make sure that you do not have any external media connected to the server, since they will otherwise also be deleted in this process.
- Carry out the deletion process. To do this, enter the following command: In our case, the deletion is ensured by overwriting the data three times.
- sudo shred -vfz -n 3 /dev/sd?
- Wait until the deletion process is complete. This may take several days depending on the amount of overwriting necessary. Make sure the IDrac console remains open during the entire deletion process.
- After deleting, shut down the system by executing the following command:
- sudo poweroff

